For our "Wild and Fabulous" zebra-themed Christmas, I thought it would be appropriate to make a zebra head Christmas Tree topper.
The project went on a little longer than I intended but it finally got done tonight.
It's all just a matter of gathering all the materials and having lotsa' patience, especially if you have kids who want to be involved but don't quite have a grasp on crafting projects that are a bit more complicated than preschool crafts (hehe).
To do a similar Zebra head, this is what you will need:
1. Newspaper
2. Masking Tape
3. An old book
4, Modge Podge
5. Paint brushes
6. Sponge brushes
7. Paper towels
8. cardboard
9. Scissors
10. Black paint
11. Flour
12. Water
 |
| 1. This is how I started my project: Just newspaper and masking tape. I made two balls out of newspaper (one slightly smaller than the other one, which would become the zebra's muzzle) |
 |
| 2. Once you have the shape of the head with the newspaper balls connected with masking tape, you can mold the paper with your fingers so it takes on the desired shape. |
 |
| 4. This is what it looked like when it was done. It lasts up to a week before mold starts growing out of it, so make sure you time your projects accordingly. |
 |
| 5. I cut pieces of paper towels and dipped them in the homemade paste and basically started covering the newspaper zebra head with the wet paper towels. |
 |
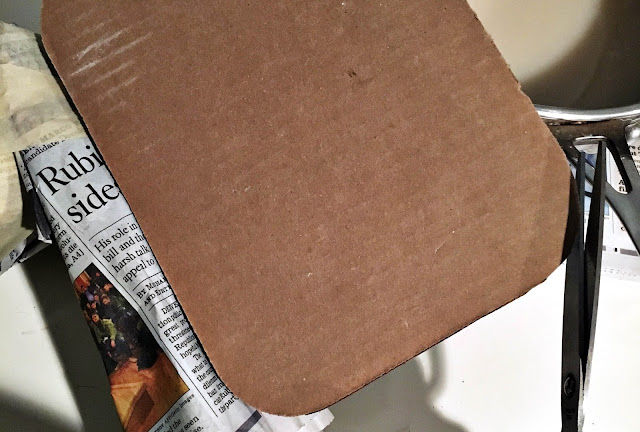
| 6. I cut a piece of cardboard paper to glue to the back of the zebra head for support. |
 |
| 7. The next day, once the homemade glue had dried, I bunched up strips of newspaper and taped them to the top of the animal head to create the zebra's mane. |
 |
| 8. I also rolled up smaller pieces of paper towel to create small rings for the zebra's nostrils and eyelids. |
 |
| 9. I cut small pieces of cardstock paper into triangle-like shapes for the ears and taped them right above the eyes. |
 |
| 10. Once the ears were taped, I added another layer of paper towels with homemade glue all over the zebra. |
 |
| My little helper loved this part of the project, he would dip the sponge brush and lather heavy coats of Modge Podge (eek!) |
 |
| 12. The printed pieces took about two hours to dry. Once they were done, I started painting the zebra's features. I used black acrylic paint. |
 |
| 13. The stripes were the fun part. They look a bit messy because I couldn't find a better brush but you get the point!. I created random lines and patterns around the eyes and down the neck. |
 |
| And here is my final product. It's ready to sit atop of our Christmas Tree. |
Thanks for reading!


No comments:
Post a Comment