This shop has been compensated by Collective Bias, Inc. and its advertiser. All opinions are mine alone. #PledgeReflectionOfYou #CollectiveBias

Having an extra freezer at home has brought a series of controversies for my husband and me. We purchased one several years ago when I was expecting Benny. We bought it in anticipation of sleepless nights and the resulting lack of energy to spend time cooking in the kitchen. The freezer, we agreed, would store microwaveable meal options and other goodies to make our lives a little easier with a newborn at home…
Well, nearly four years later, when Paul was transforming our garage into a gym, he wanted to get rid of the freezer, which had become a dusty, old, empty appliance. He actually took it outside and left it there! My initial thought was: “Oh no you didn’t! We can’t get rid of it.”

So I bought some Pledge® Multisurface Everyday Cleaner with Glade® Rainshower® at Ralphs and started cleaning the dirt off the top of my freezer, which had collected a lot of dust. Good thing the product can be used on wood, laminate, stainless steel, leather, marble, granite, plastic, porcelain, glass and electronics! It removes up to 90% of the allergens found in dust.
 |
Pledge® products can be found in the cleaning supply aisle at Ralphs or any other Kroger family of stores.
|
All of a sudden my freezer was beginning to shine, which showed me Pledge® takes care of the things I love (yes, my heart still beats for my dear freezer). I cleaned the outside with the Pledge® Lemon Wipes, which are surprisingly versatile. They quickly clean, condition and protect while leaving behind the fresh lemony Pledge® scent.

So with a seemingly brand new outdoor freezer, I couldn’t help but imagine stocking it with ice cream for the kids and their buddies and turning it into a good ol’ ice cream cart…ha!

Here’s how I made it happen:
Tools:
*large piece of cardboard
*ruler
*tape
*scissors
*pen
*paint and paintbrush
*black construction paper
*measuring tape
*level
*portable coat rack

Instructions:
Start by measuring the space of the appliance that you want to “transform” and cut it accordingly. In my case, I got extremely lucky that the piece of cardboard I had measured nearly exactly as the width of the freezer. Next, measure the cardboard and use a ruler to draw long vertical lines. This is usually done by dividing the width of the space by an even number to determine how thick your stripes will be. Once the lines are drawn, cut the cardboard in two sections and paint thick white stripes along the lines (I wanted to use a second color but ultimately decided that the white against the brown cardboard looked good).

Get a separate piece of black construction paper, cut out a large circle (to serve as the cart’s wheel). Use 1” tape to serve as a guide for cutting out the wheel spokes.


Take one of the white striped cardboard pieces and use the scissors to round off the edges of each stripe. This will give it an awning effect. Next, draw two lines across the center. Make sure you apply pressure with the pen as you draw the line. This is done in order to make it fold easily and create a space in between that will allow the cardboard to hang over.
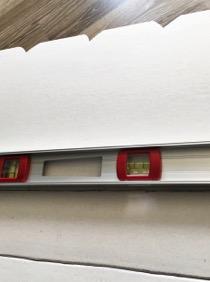
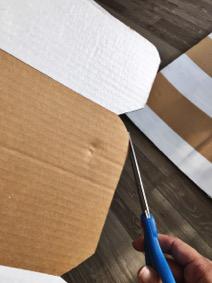
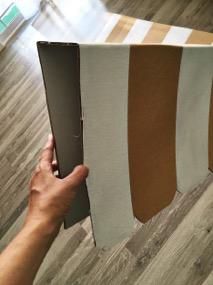
Finally, tape all pieces onto the large appliance and stick the wheel to the bottom right as well as an “Ice Cream” sign.

As far as the awning, I used a portable clothing rack to hold it up, but you can also attach it to a wall and get the same effect or build a frame out of wood or PVC pipe.

And this is how you turn an old, undesirable freezer into a cutesy ice cream cart (if I do say so myself)…
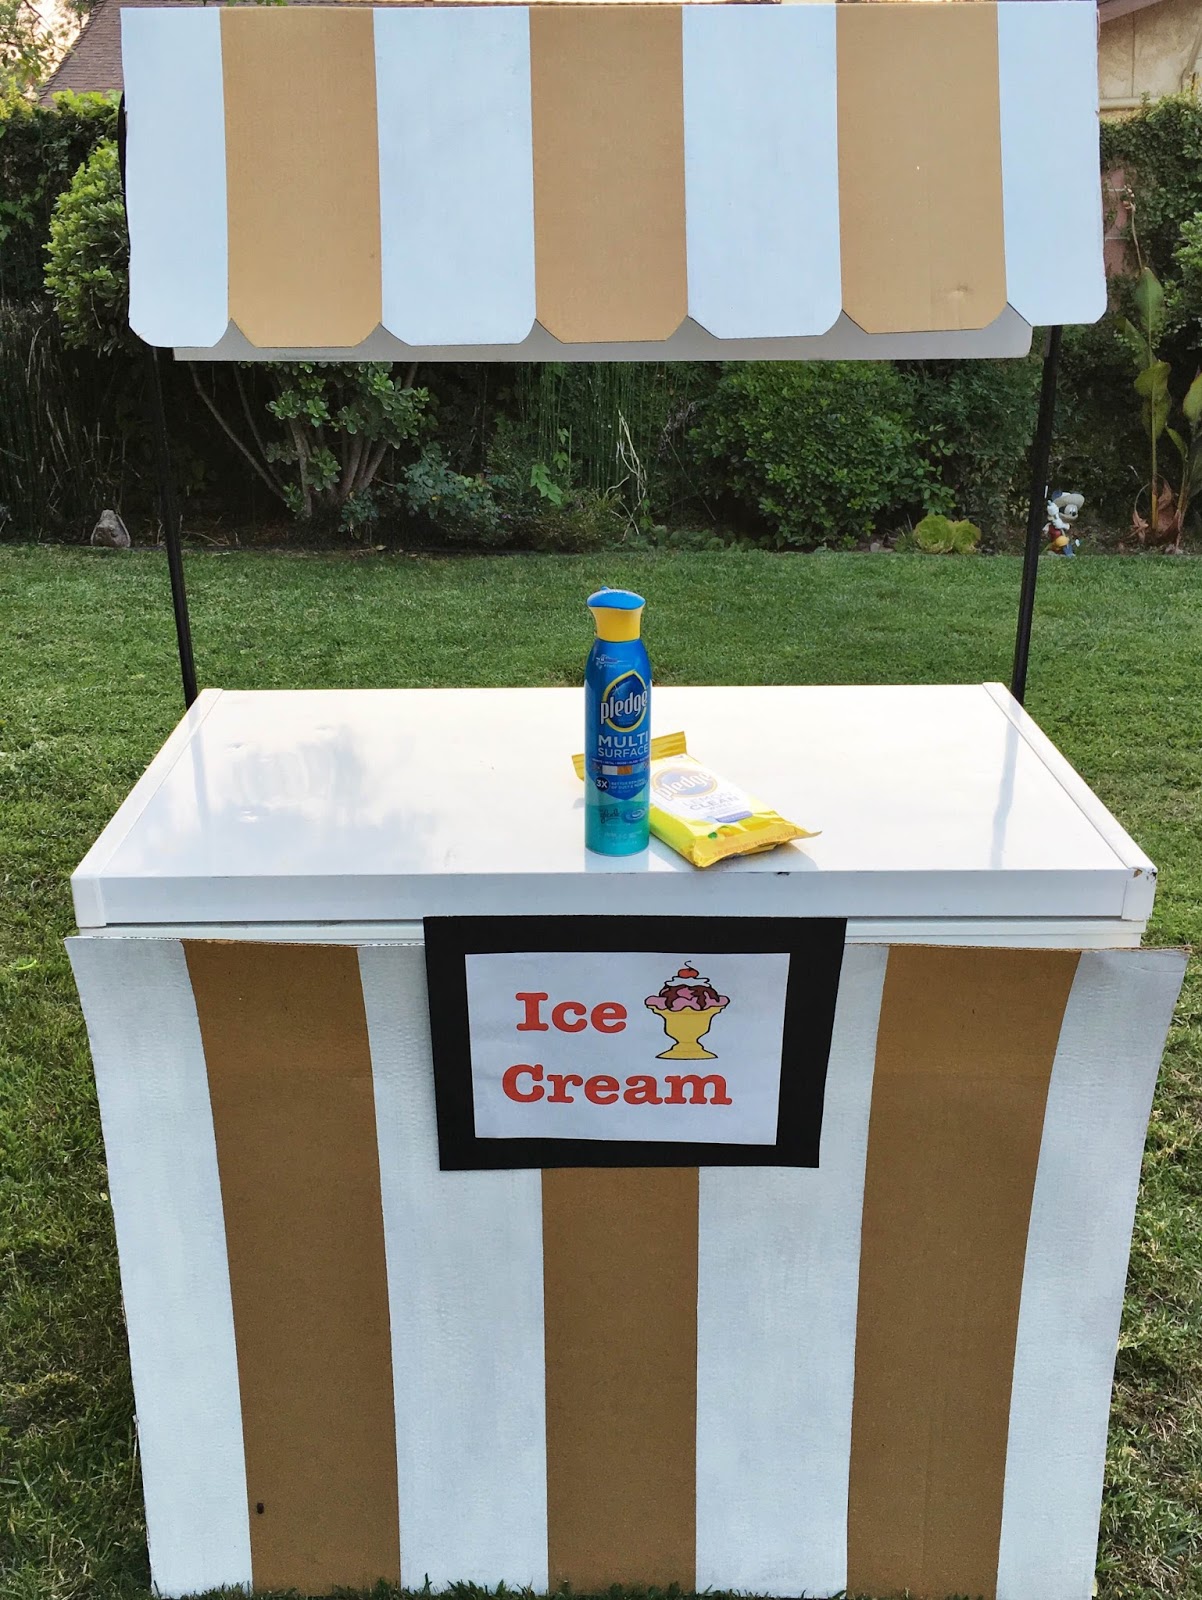
Do you have any appliances or old furniture pieces at home that need a transformation? Take it from me, start by cleaning things off with the right Pledge® products and let your creativity soar!